How to Install a Wine Cooler
Wine is a beverage that requires special attention when it comes to storage. If you are a wine enthusiast, you likely understand the importance of storing your wine in optimal conditions to preserve its quality. One key component of maintaining proper wine storage conditions is a wine cooler.
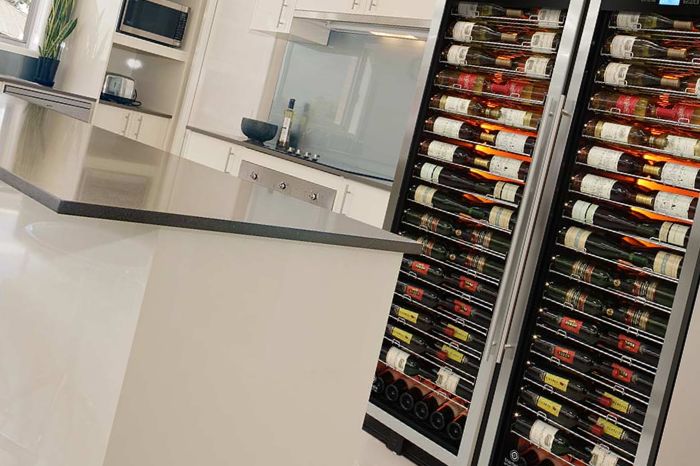
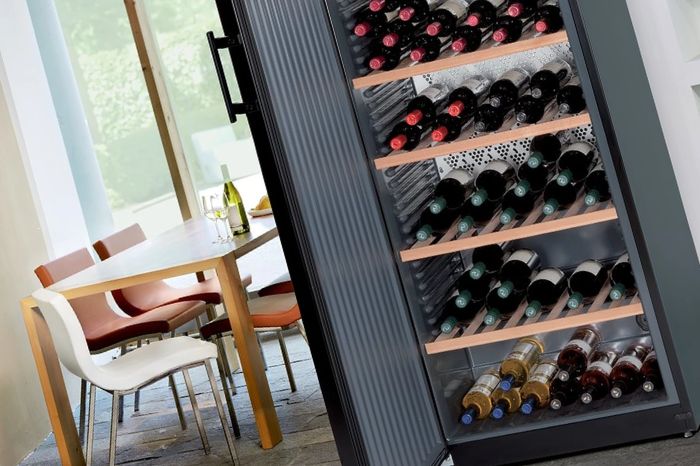
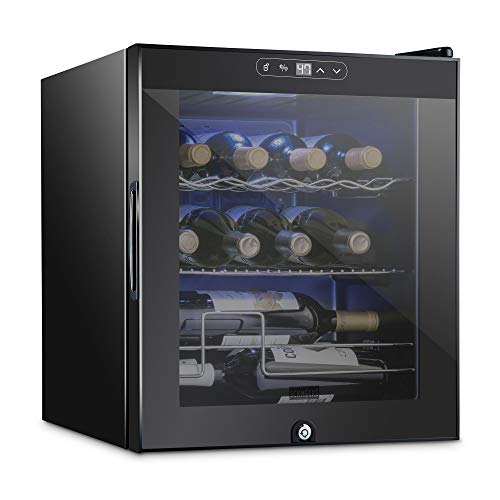
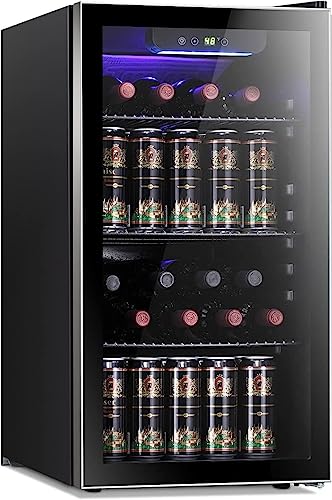
A wine cooler, also known as a wine refrigerator, is a specialized appliance designed to keep wine cool and maintain optimal storage conditions. These coolers come in various sizes and can accommodate different numbers of wine bottles. Installing a wine cooler is a relatively simple process that requires a few tools and some attention to detail. In this article, we will provide you with a comprehensive guide on how to install a wine cooler.
What Tools or Supplies Do I Need to Install a Wine Cooler?
Before you begin the installation process, it is important to gather all the necessary tools and supplies. Below is a list of the commonly needed tools and supplies for wine cooler installation:
- Measuring tape to measure the space where you want to install the wine cooler
- A leveler to ensure that the cooler is placed on an even surface.
- Screwdriver to tighten the screws, and a power drill to make necessary holes on the wall or the unit.
- Electrical wiring tools if the cooler requires a power source.
- Pliers to connect wires and thermostat.
- Caulking gun to seal any gaps around the unit.
Having all the essential tools and supplies at your disposal can make the installation process a lot smoother and easier.
How to Measure the Space You Have to Fit a Wine Cooler
The first step in installing a wine cooler is to ensure that you have the proper space to accommodate the cooler. To determine how much space you need, you should consider the dimensions of the wine cooler you are planning to install. Most wine coolers range in height from 18 inches to 72 inches, and in width from 12 inches to 24 inches. Therefore, it is important to measure the space you have available for the cooler before purchasing one.
To measure the space accurately, use a tape measure to determine the height, width, and depth of the area where you plan to install the cooler. Ensure that you have enough space to accommodate the wine cooler and allow for ventilation. A wine cooler requires proper ventilation to keep the compressor and condenser running efficiently. For efficient operation, leave a minimum of 2 inches of clearance around the sides and back of the cooler.
How to Install a Wine Cooler Step by Step
Once you have all the necessary tools and have measured the available space, it is time to install the wine cooler. Here is a step-by-step guide on how to install a wine cooler:
Step 1: Select a location for the wine cooler
Choose a suitable location for the wine cooler, ensuring that the area is well ventilated. The cooler should be placed in an area that is out of direct sunlight and away from any heat source, such as ovens or stoves.
Step 2: Level the area
Use a level to ensure that the area where you plan to install the wine cooler is level. This will prevent any leaks or damage to the unit.
Step 3: Install the feet or wheels
Some wine coolers come with feet or wheels that need to be attached. Follow the manufacturer’s instructions to install them properly.
Step 4: Position the wine cooler
Position the wine cooler in the selected location and ensure that the cooler is level. If the wine cooler came with adjustable feet, adjust them to level the cooler.
Step 5: Plug in the wine cooler
Once the wine cooler is in place, plug it into a nearby electrical outlet. Ensure that the outlet can accommodate the required voltage and current of the wine cooler, as indicated in the manufacturer’s instructions.
Step 6: Allow the wine cooler to settle
Allow the wine cooler to settle for at least two hours before loading it with wine. This will allow the compressor to adjust to the temperature and stabilize the wine cooler.
Tips on Keeping Your Wine Cooler Running Efficiently
To ensure that your wine cooler runs efficiently and provides optimal storage conditions for your wine, follow these tips:
Clean the wine cooler regularly: Dust and debris can accumulate on the condenser, affecting the cooler’s efficiency. Clean the condenser every three months to ensure optimal performance.
Maintain the right temperature: Set the wine cooler temperature to the appropriate level depending on the type of wine you are storing. White wines should be stored at 45-50°F, while red wines should be stored at 50-55°F.
Don’t overload the wine cooler: Overloading the wine cooler can reduce its efficiency and prevent proper ventilation. Ensure that you load the cooler within its recommended capacity.
Keep the door closed: Opening the wine cooler door often can cause temperature fluctuations and reduce the cooler’s efficiency. Avoid opening the door unnecessarily.
Conclusion
In summary, installing a wine cooler requires careful consideration and patience. Before embarking on this process, it is important to have a clear understanding of the type of wine cooler you need and the location in which it will be installed. Make sure that you have all the necessary tools and supplies, such as a power drill, screws, and a level, to ensure a secure and level installation. Additionally, it is crucial to follow the manufacturer’s instructions carefully, including ensuring that there is proper ventilation and spacing around the cooler.
It is important to remember that a wine cooler is an investment that requires proper maintenance to ensure it operates efficiently for years to come. Once the cooler is installed, ensure that it is properly cleaned and maintained, with regular checks of the temperature and humidity levels inside. With proper effort and care, your wine cooler will provide a safe and reliable storage solution for your wine collection, ensuring that you can enjoy every glass to its fullest potential.

